|
Apache SpamAssassin
|
|
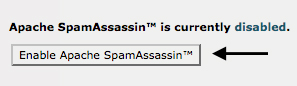
OverviewApache SpamAssassin™ is an email utility that examines incoming email and tests for spam characteristics. It uses Bayesian spam filtering and network tests to screen incoming email. This results in an overall score that Apache SpamAssassin uses to determine whether it should discard a message. By default, SpamAssassin is disabled so you must enable it within cPanel to take advantage of it's features. Enable or disable Apache SpamAssassin
The Apache SpamAssassin interface displays the current status of the feature.
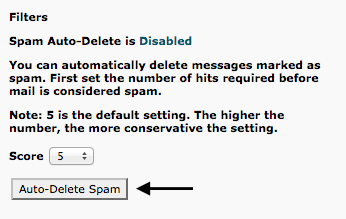
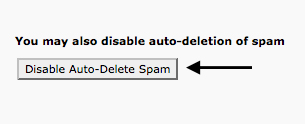
FiltersAuto-Delete SpamThe auto-delete function automatically deletes messages which meet or exceed the spam score limit. Auto-delete can be enabled in the Filters section by clicking Auto-Delete Spam; it can be disabled by clicking Disable Auto-Delete Spam.
If you enable this feature and a message that is not spam meets or exceed the defined score, you may lose that email. Make certain to properly configure Apache SpamAssassin before you use this feature. In order to maximize the true power of SpamAssassin, we recommend you set up a Filter/Message rule in your mail client. Emails that are determined to be spam are still delivered to your inbox. Spam will begin with the subject line "***SPAM***". By setting up filters in your email client you can sort the mail and have all messages labeled as spam placed into its folder for review later. This will keep junk mail out of your inbox. To learn how to set up filters in various email clients, please visit our guide on setting up email filters. Apache SpamAssassin™ ConfigurationOne of the benefits of SpamAssassin is it allows you to configure the way it works. After you click the button labeled, "Configure SpamAssassin" you will be taken to a new page with a few more options to fill out and configure.
required_score Apache SpamAssassin examines every email message for spam characteristics and assigns it an overall score. Use the required_score text box to set the required score to mark a message as spam. The default setting is 5.0 blacklist_fromApache SpamAssassin may incorrectly tag some mail as non-spam messages. If these messages often come from specific addresses, you can blacklist them to ensure that Apache SpamAssassin tags their messages correctly. To do this, enter the address in one of the blacklist_from text boxes. whitelist_fromAdd email addresses that Apache SpamAssasin often blocks, but from which you wish to receive mail, to the Apache SpamAssasin whitelist. To do this, enter the address in one of the whitelist_from text boxes. When you add the addresses to the blacklist or whitelist, use * as a wildcard to represent multiple characters and ? to represent a single-character wildcard. The following examples demonstrate how to properly use wildcards in the blacklist:
If you need to add more than five addresses to the blacklist or whitelist, fill in the first five text boxes and click Save. Additional text boxes will appear. Click Save to store the configuration changes. | |
|
|