|
Setting Up Outlook 2013 Using POP over SSL
|
|
To configure Microsoft Outlook 2013 to send and receive email with the POP3 protocol over SSL, please follow the steps below. Please replace:
username@example.com with your email address
mail.your_server.com with your server's host name (you can find your server's host name from the welcome email or contact support for assistant) |
Adding a new account
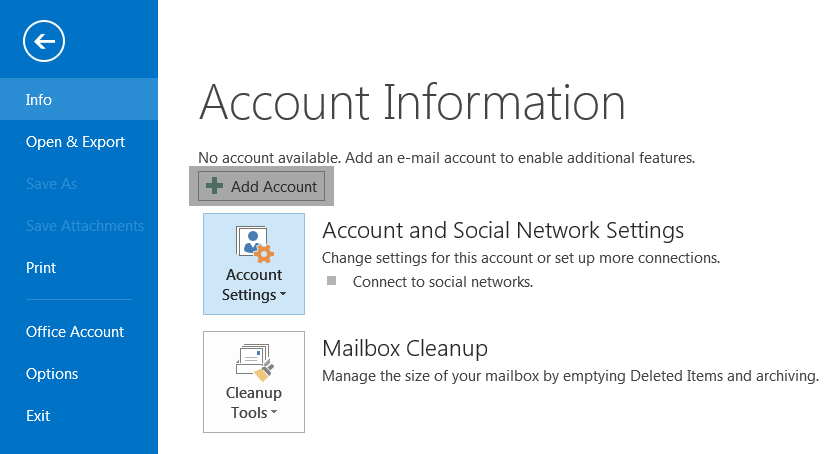
- Select the File menu and choose Info
- Click the Add Account button.
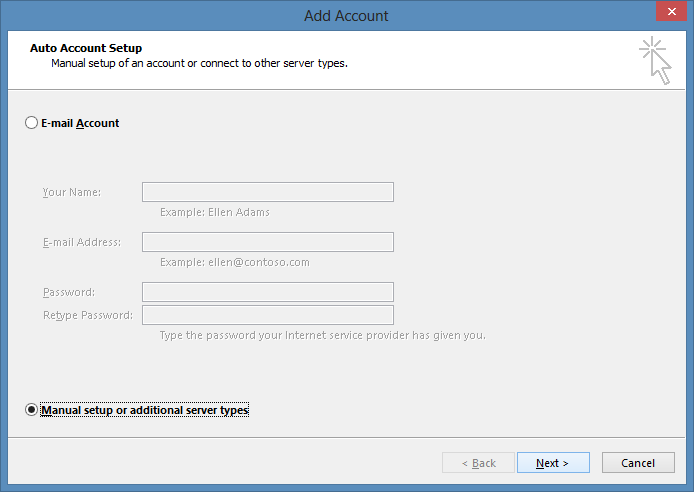
- Choose Manual setup or additional server types
- Click Next.
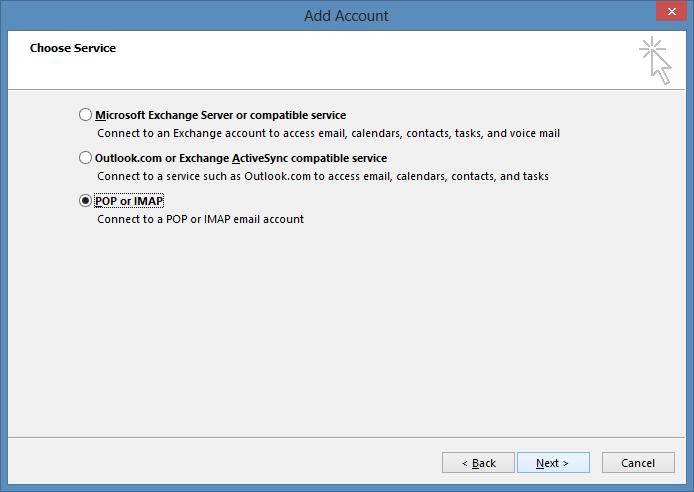
- Choose POP or IMAP.
- Click Next.
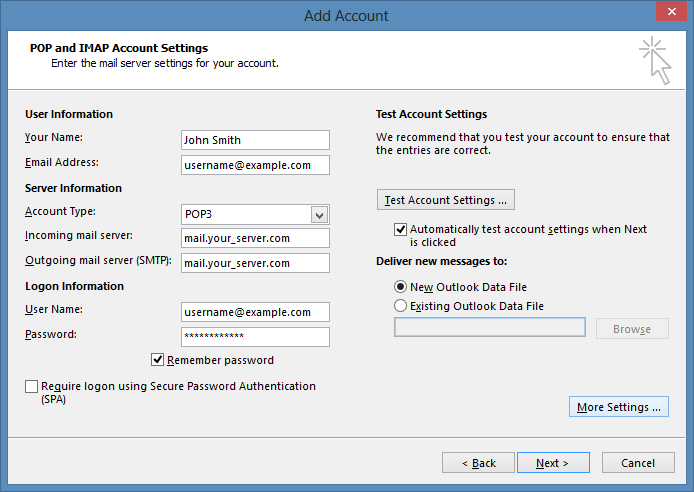
Account Settings
- User Information
- In the Your Name box, enter the name you want users to see when you send email from this account.
- In the Email Address box, enter your email address.
- Server Information
- Under Account Type, select POP3
- In the Incoming mail server box, enter mail.your_server.com
- In the Outgoing mail server (SMTP) box enter mail.your_server.com
- Logon Information
- In the User Name box, enter your email address.
- In the Password box, enter your password. If you want Outlook to remember your password, make sure the check box next to Remember password is selected.
| You would not enter mail.your_server.com but your own hostname. |
More Settings
- Click the More Settings button.
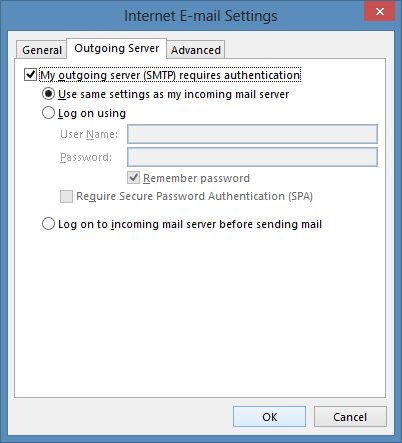
- Click the Outgoing Server tab.
- Click the My outgoing server (SMTP) requires authentication checkbox.
- Make sure that it is Use same settings as my incoming mail server.
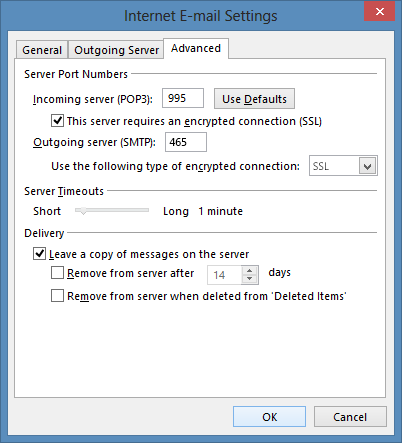
- Click the Advanced tab.
- Mark the This server requires an encrypted connection (SSL) option. The incoming server port will be automatically changed to 995.
- Set the Outgoing server (SMTP) port to 465. Specify SSL at the Use the following type of encrypted connection setting.
- If you want to keep a copy of your messages on the server, under Delivery, click Leave a copy of messages on the server. If you don't select this option, all messages will be removed from the server and stored locally on your computer.
- Click the OK button.
Completing the Setup
- Click Next on the E-mail Accounts window.
- Click the Finish button.
|
|