|
FreeFileSync Syncing/Backup Complete Guide
|
|
|
For the users who subscribe to our Cloud Storage Services, here is a tutorial on how to use the software for backup/syncing. FreeFileSync is a handy FTP/Cloud Syncing and Backup Software. It is completely free and compatible to Windows, Linux and other OS platforms. You can download it here.
FreeFileSync comes with 2 softwares which FreeFileSync is used to preform backup, while RealTimeSync is used to preform scheduled synchronization process The Complete Guide for FreeFileSync will assist you on how to perform a backup and set up a scheduled synchronization process to specific folder. It is categorised to few sections as shown below:
Create Connection Between Local Folder to Cloud
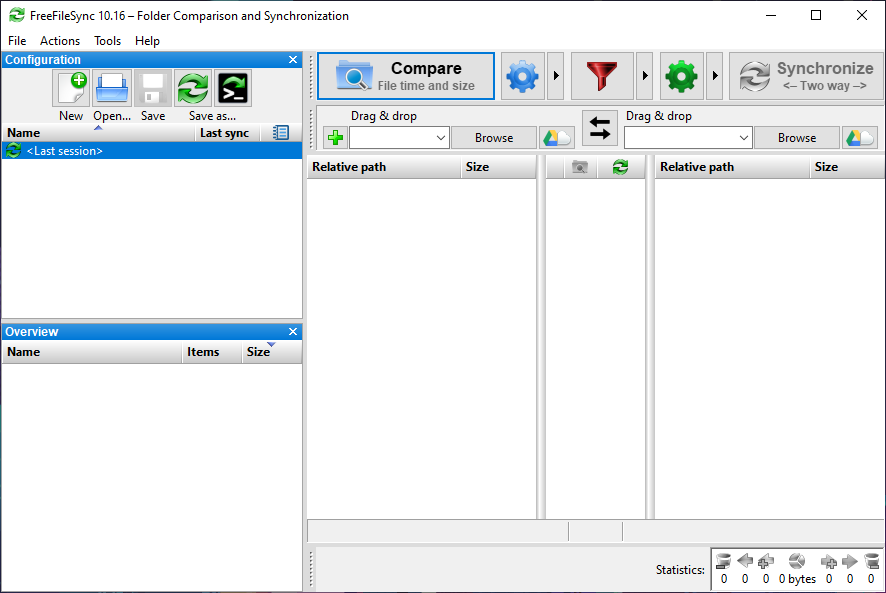
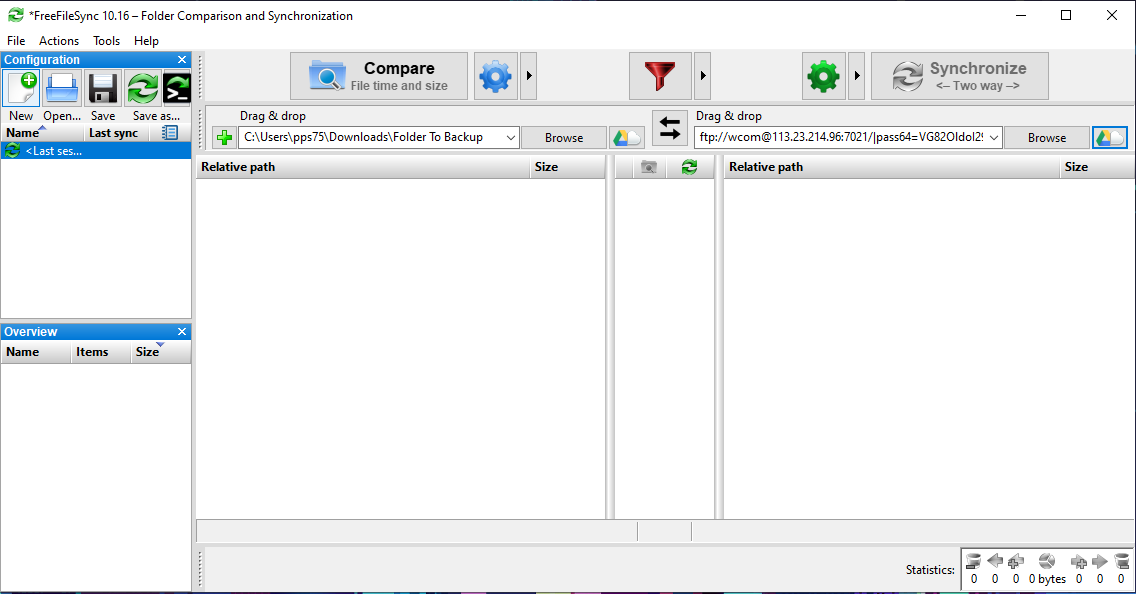
Step 1: There mainly run by two separated columns which indicates the source and destination folder. To start, we need to locate the source and destination folder. Click on “Browse” at one side of the column. It is used to locate the source folder path.
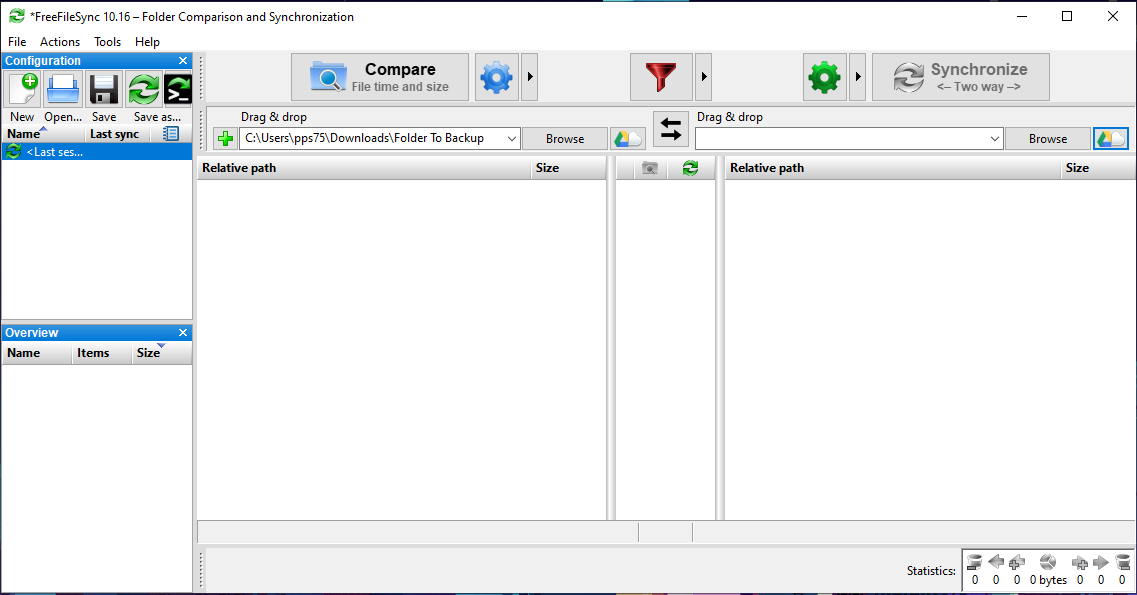
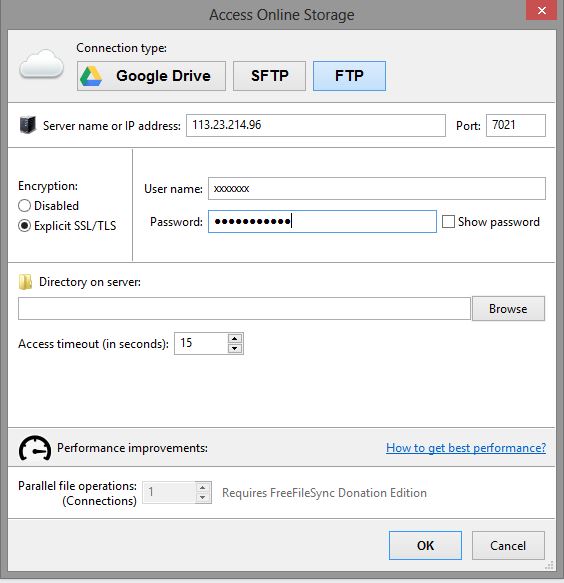
Step 2: Select the folder you want to locate as source for backup, click “OK”. Step 3: For the other column, select on the “Google Drive/ Cloud” Logo at the side of browse if you are intending to backup your file to cloud. For local backup, simply preform the similar method as stated before to locate the path. At the “Access Online Storage” interface, select on FTP for cloud, enter your FTP credentials. Make sure to tick on Explicit SSL/TLS option.
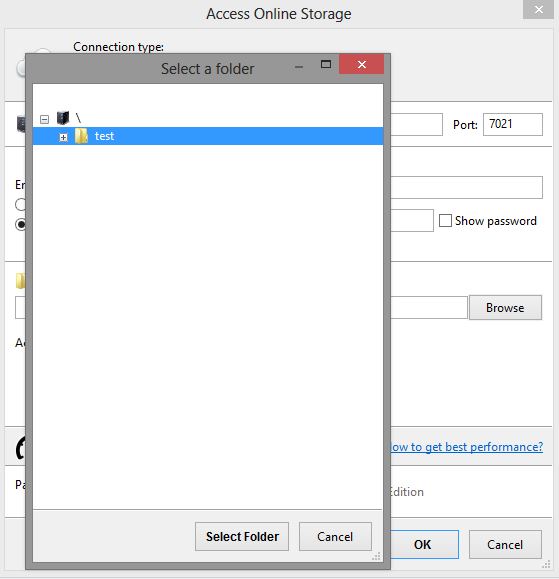
Step 4: You can select on sub-folder at FTP by browsing the “Directory on Server”. Click “OK” to proceed.
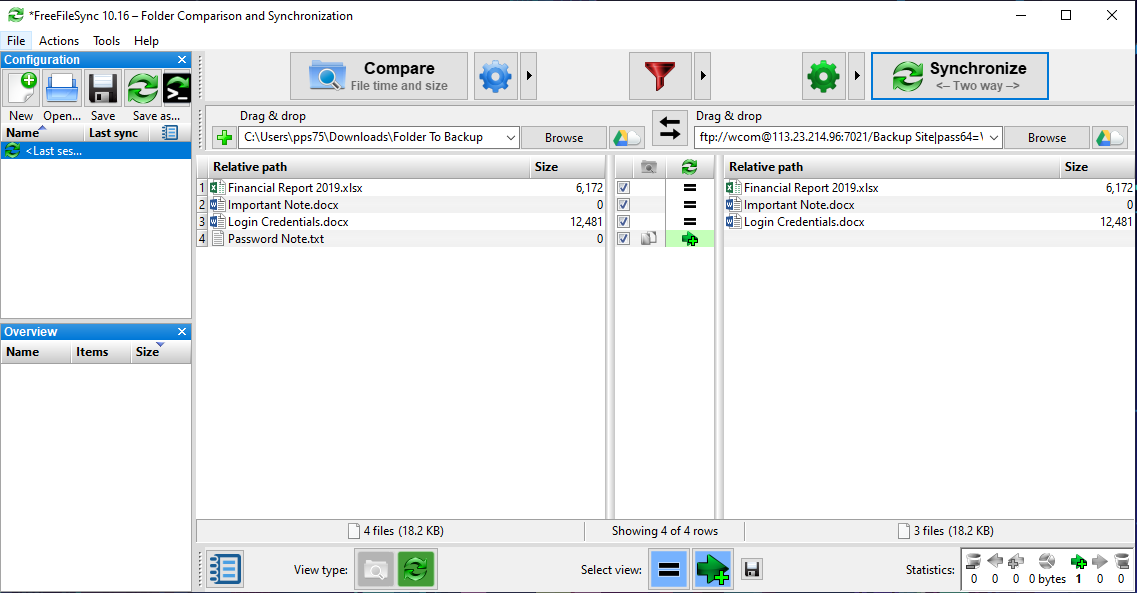
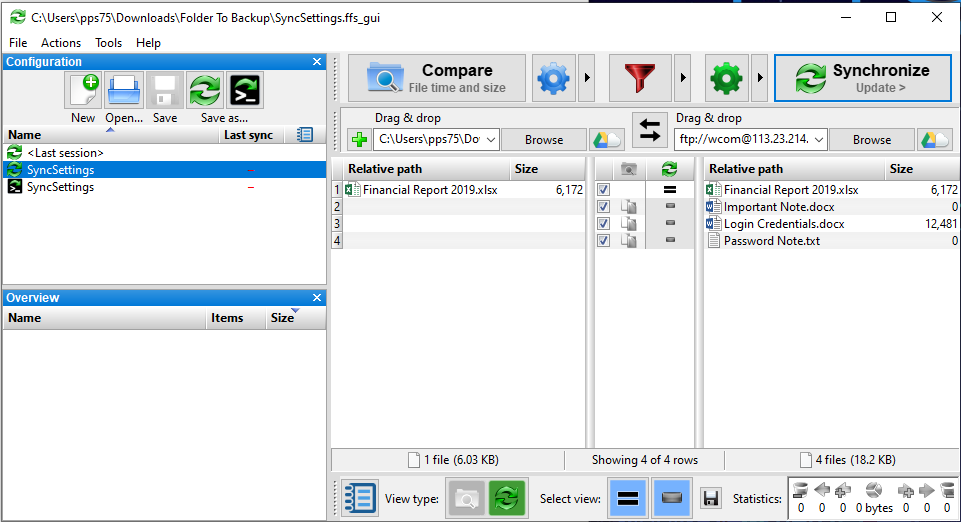
Step 5: After complete the configuration, you can observe both column’s path are already set up. Then click “Compare” button.
Step 6: After comparing, the file directory from both source and destination folder are establishes.
You can unselect files that do not require to backup by RIGHT CLICK the folder and select “Skip” from “Arrow” and vice versa. Backup/Syncing Configuration
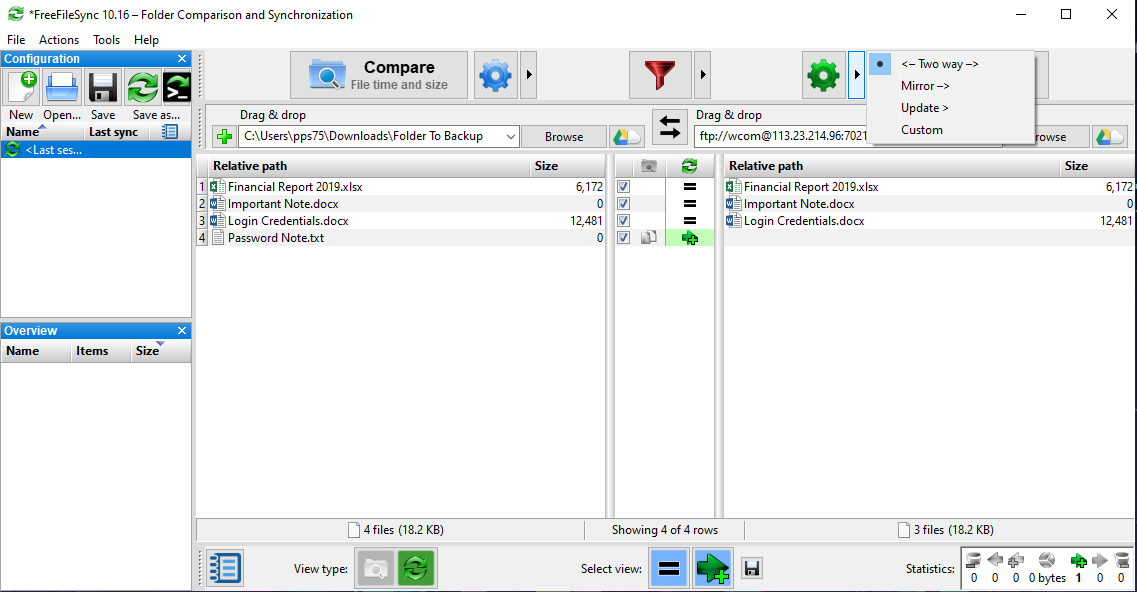
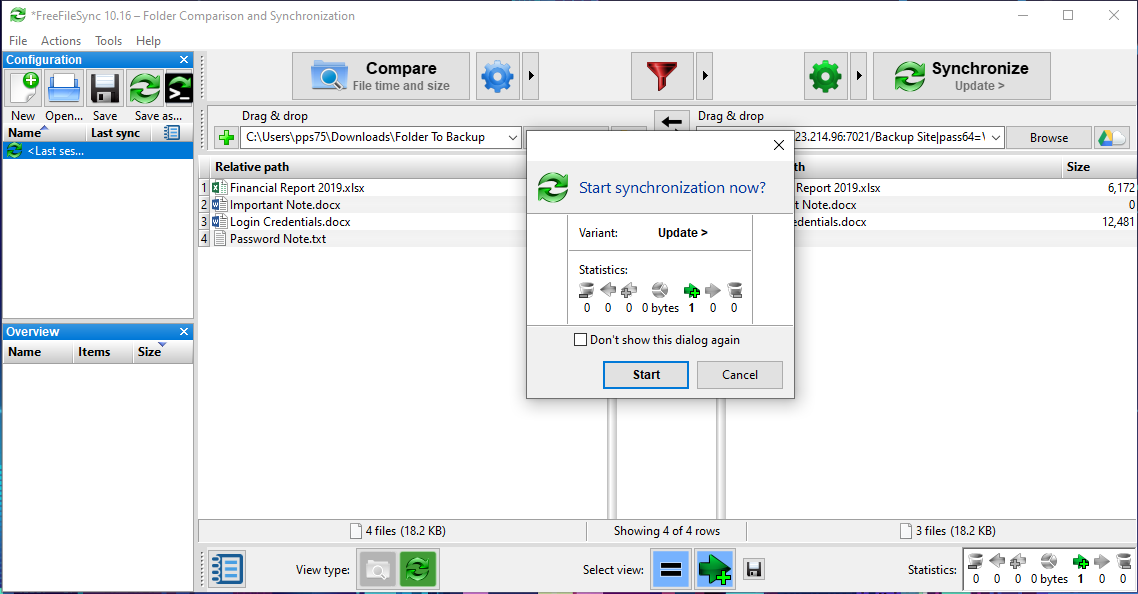
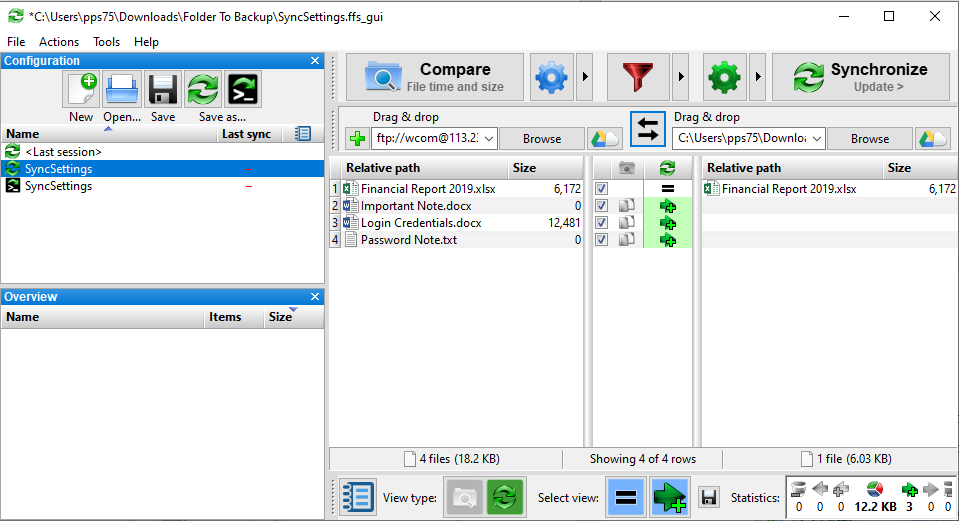
Step 1: The Green “Gear” icon at the side of “Synchronize” button help you to configure the type for the synchronization. Click “Synchronize” Button to proceed.
Step 2: Click “Start” Button to proceed.
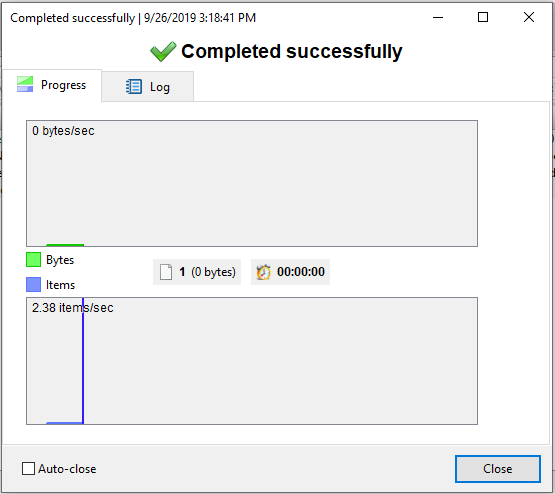
Step 3: A statistic graph will show you the synchronization process. The backup process will take time-based on the total file size to be upload to the cloud. The upload speed is mainly depending on your upload speed from your internet. You can make it run at background and perform your daily tasks as usual.
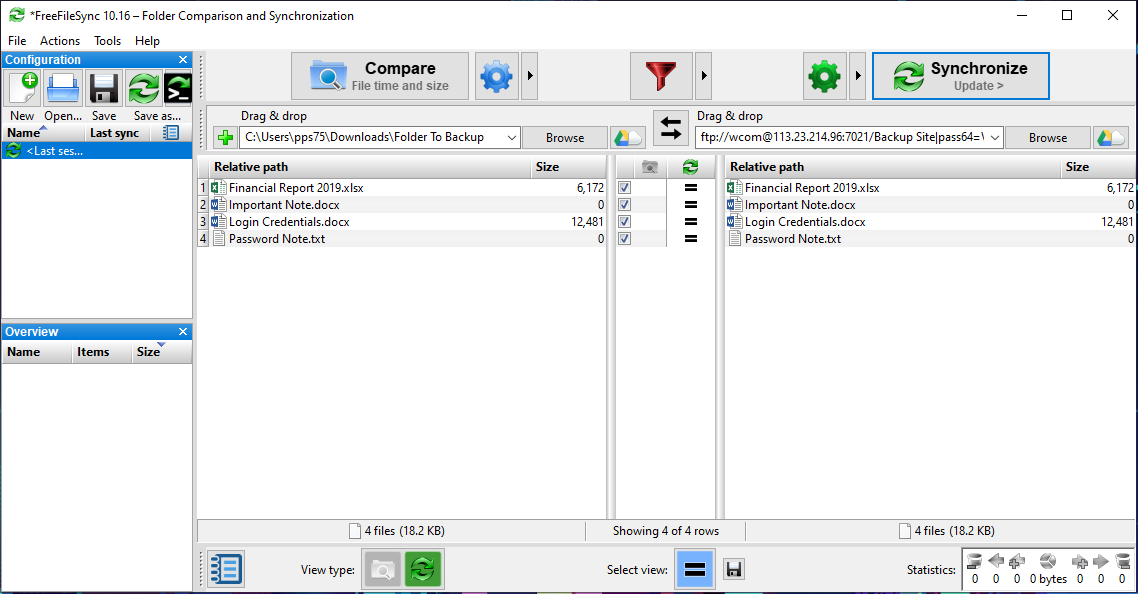
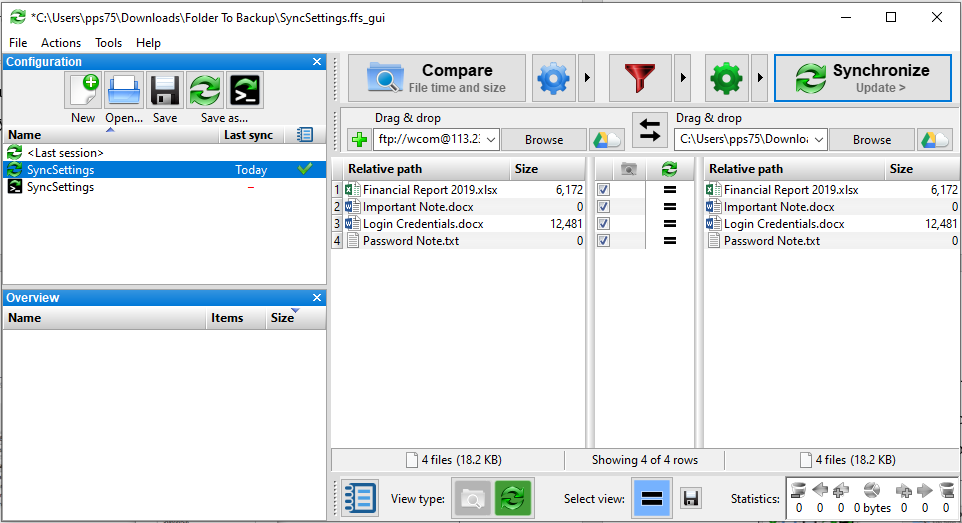
Step 4: After the synchronization process is completed, all files that used to be backup should categorize in equal sign.
Step 5: To save the profile/task, click on the “Save” (Green Recycle) icon which is the 4th logo located at top-left corner.
Step 6: Save the file at a location in order to use it in future.
Step 7: The saved profile/tasks will appear at the left panel with specific profile name.
Recovery Configuration
Step 1: To preform recovery, you can select back the original profile/task. For this example, the local disk folder (Left Side Panel) has lost some files and required to recover from the cloud (Right Side Panel). Click on “Swap” logo (Two Way Arrow) at the middle of two panel.
Step 2: After swapping, you can observe the Cloud Folder has swap to left panel and the Local Disk Folder at right panel. Click “Synchronize” and proceed as you backup.
Step 3: After the synchronization, all the files will be recovered from the cloud to the local folder.
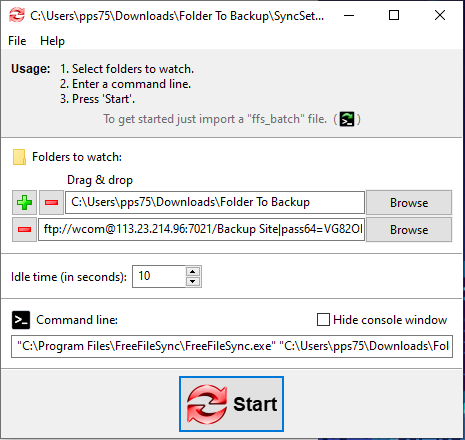
Schedule Synchronization (Advanced)
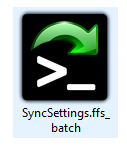
FreeFileSync provide a schedule synchronization feature by using RealTimeSync application. Step 1: In order to preform the Schedule Synchronization, the profile/task should saved as a batch file first. Click on the “Save as Batch Job” (Black Coding) icon which is the 5th logo located at the top-left corner.
Step 2: After saved, the batch file logo will appear as figure above.
Step 3: Drag the batch file and drop on the RealTimeSync application, you will observe the details of the profile/tasks will appears on the interface. You can also run the batch file at a specific time schedule by using Windows Task Scheduler or Mac Automator.
ConclusionThe complete guide above shows you the basic configuration for performing backup/syncing at our Cloud Storage Service, including establishing a connection, create a profile for backup/syncing and set up a schedule for the profile. For other enquiries or questions, kindly contact our Support Department or submit a ticket to us.
| |
|
|