|
Auto Responders
|
- Log into your cPanel. Example: http://yourdomainname.com/cpanel
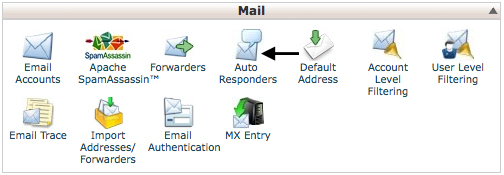
- In the Mail section, click Auto Responders
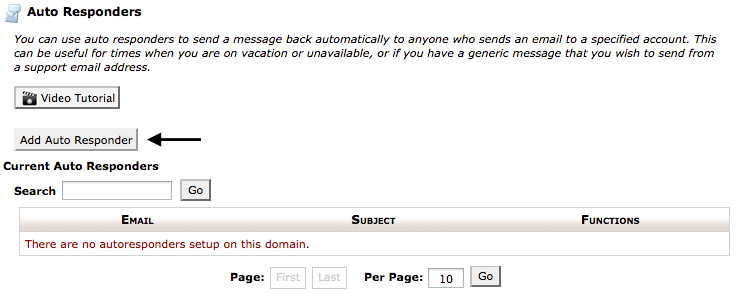
- Click Add Auto Responder
- In the Character Set drop-down menu, leave is as default. (UTF-8 is the most commonly used and recommended.)
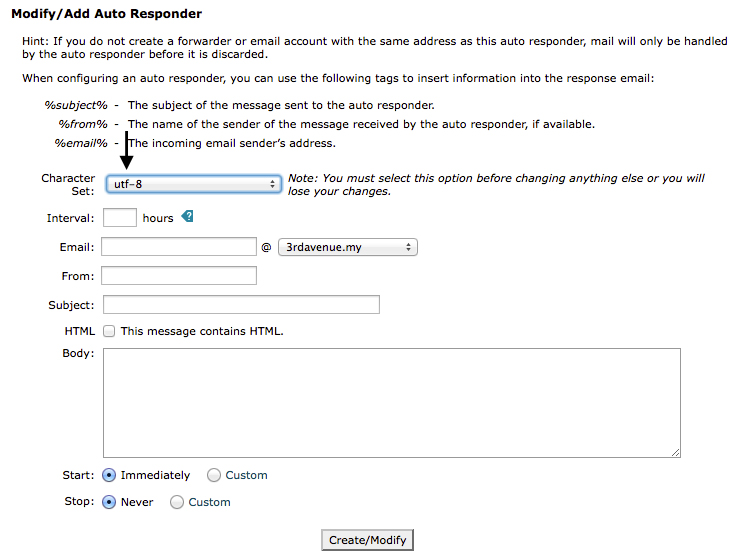
- In the Interval field, specify the interval, in hours, you wish for the autoresponder to wait between responses to the same email address.
- For example, if you set up an autoresponder with an interval of 24, and you receive an email from john@example.com at 8 am on Monday, the autoresponder will respond to his message immediately. If, however, john@example.com continues to email you throughout the day, the autoresponder will not send him another response for 24 hours after his initial email (in this case, 8 am Tuesday). If he emails you again after the 24-hour interval expires, he will receive an auto response immediately.
- If the interval is set to 0, cPanel sends an auto response to each email.
- In the Email field, define the email address whose mail you wish the system to respond to.
- In the drop-down menu, select the domain for the email address.
- In the From and Subject fields, type the username and subject you want to appear in the response.
- Click the HTML checkbox if the body of the email will contain HTML. If you leave it unchecked, HTML tags will show up as plain text in the auto-response.
- In the Body field, type the text of the response. In the message body, you can include tags, enclosed in percent signs (%). You can use these tags to insert information, such as the incoming email's sender or subject, into the body of the email. Available tags are:
- %subject% — The subject of the message that was sent to the auto responder.
- %from% — The name of the sender of the message received by the auto responder, if available. (If the sender's name was not received, %from% will print the sender's email address.)
- %email% — The sender's email address.
- Select a Start and Stop time.
- Click Create/Modify.
Delete an Auto Responder
- To delete an Auto Responder, simply click on the Delete button next on it.
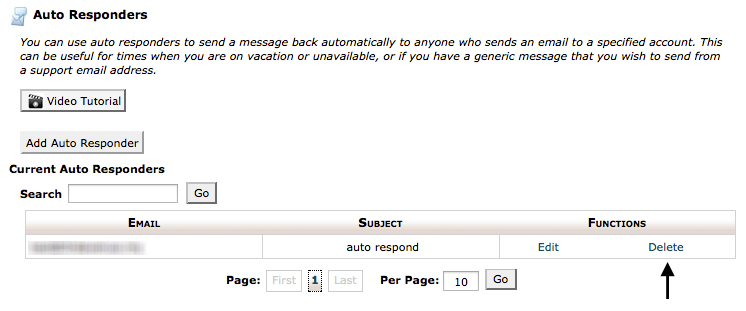
- Click Yes to confirm that the responder should be deleted.
cPanel Video Tutorial: Send a message back automatically to anyone who sends an email to a certain account
|
|
